概要
Ubuntu22.04にApacheをインストールする方法の備忘録
パッケージの更新
sudo apt update
sudo apt upgrade
UFW
ufw allow http
ufw allow https
ufw reload
リポジトリ追加
sudo add-apt-repository ppa:ondrej/apache2

sudo apt-get update
Apacheのインストール
apt -y install apache2
設定
vi /etc/apache2/conf-enabled/security.conf
# 25行目:変更
ServerTokens  Prod
vi /etc/apache2/mods-enabled/dir.conf
# 2行目:ディレクトリ名のみでアクセスできるファイル名を確認
DirectoryIndex index.html index.cgi index.pl index.php index.xhtml index.htm
# vi /etc/apache2/apache2.conf
# 70行目:サーバー名追記
ServerName <FQDN>
# 172行目:変更
AllowOverride ALL
vi /etc/apache2/sites-available/000-default.conf
# 11行目:管理者アドレス変更
ServerAdmin <your mailaddress>
Apache再起動
systemctl restart apache2
動作確認
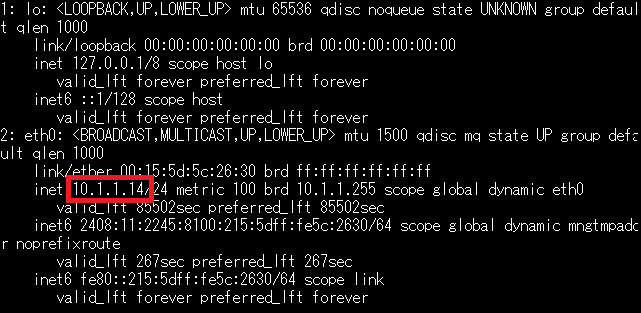
ip addr
IPアドレスを確認します
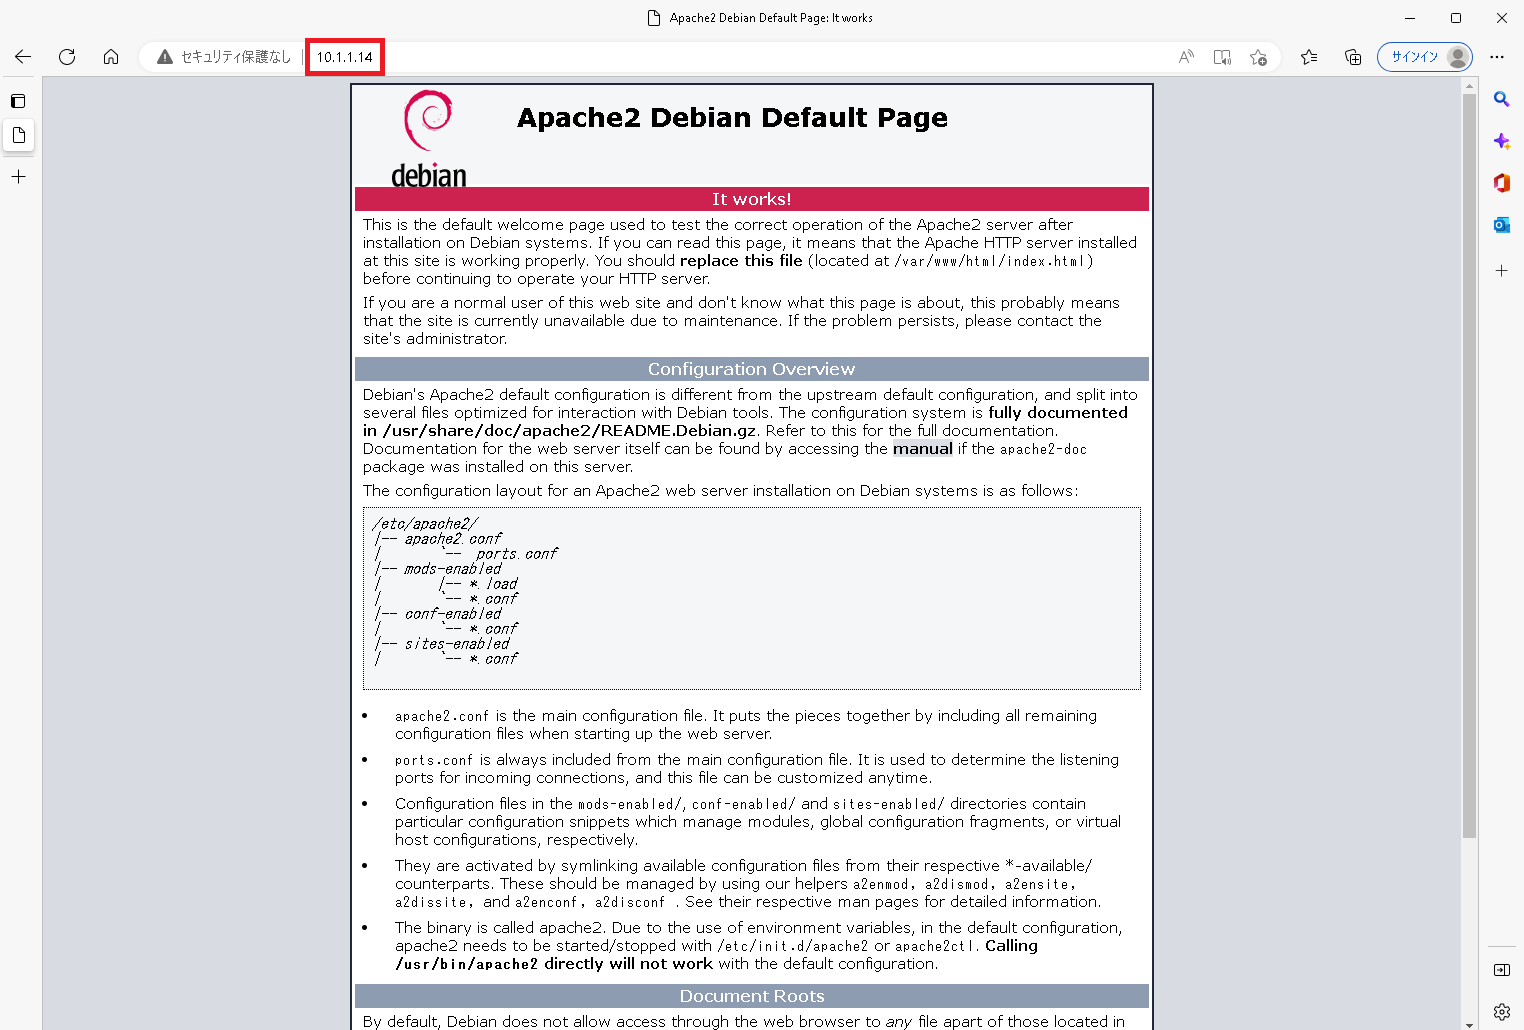
確認したIPをWebブラウザのURL欄に入力しEnterを押してApacheが正常にインストールしていることを確認してください。